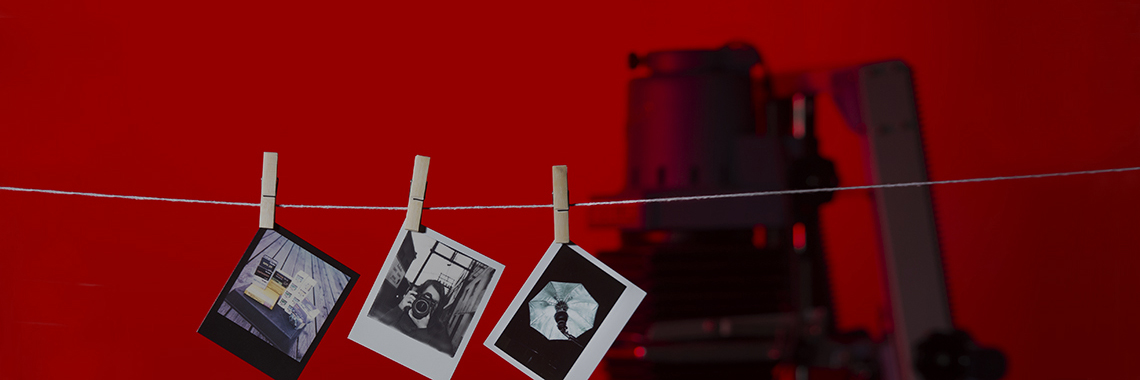
This week’s darkroom post is care of Kevin, who also does some printing in his home darkroom. Thanks for the great details, Kevin!
What is your darkroom? A room, closet or bathroom? Please tell us a bit about it.
My darkroom is my 800 square foot apartment’s only bathroom, because Vancouver. I’m a member of the West End Photographic Society, and as such can use their darkroom in the West End, but I live in South Burnaby so the occasional hassle of monopolizing the bathroom is kind of fun. It does mean that I can only really print when my girlfriend isn’t home for a long stretch of time, but anyways…
The enlarger sits on the floor, a couple of trays are in the tub, and one is next to the enlarger. I process one print at a time due to space requirements. I have a home-built print washer that I can set up elsewhere to do hour-long plus archival washing for FB prints, or if I’m really excited, I could get some Ilford Washaid to make it quicker.
In short, it’s fun. I’m working with some colleagues who may wish to re-start a darkroom co-op, so if you are someone who has space that we could rent for an affordable rate, or wish to learn more, Nicole at Beau could probably put you in touch with me. (She sure can! Email film@beauphoto.com if you are interested.)
What’s your process? Tell us a bit about your developing routine, especially if it’s tricky.
Developing is both a lot of fun and the bane of my existence. For colour, I ship it all out to the Lab because I’m so terrified of temperature control it’s not even funny.
For B&W, I tend to use trendy experimental methods I find online. I haven’t done a Caffenol-C experiment yet (soon, soon), but for a while I was doing extremely dilute HC-110 stand development. I started getting edge density issues, so I’ve changed to a fancy combination of Rodinal and HC-110 (the so-called Rodin110) which is 4ml of Rodinal and 1ml of HC-110. Developing time is 30mins for any film, and any ISO at box speed. 30 seconds initial agitation, followed by 3 inversions at 10, 20, and 25 minutes. I have had no significant issues with this method, though I haven’t tried to push it, yet.
What’s your go to developer?
For the longest time, it was HC-110. Now, it’s Rodinal/HC-110 combined. I’m enlarging up to 11×14 at home with a 6×7 negative, so I haven’t had massive grain issues at all.
What’s your all time favorite Film/Film developer combo?
Oh, I’m so split right now. I was, until very recently, all about Acros 100 in HC-110. Smooth, smooth, smooth. Acros is still my heartfelt favourite film, and I’ll curse Fuji the day they discontinue it, which is why they never will, I’m sure.
As of late, however, I’ve had exceptionally good luck with Shanghai GP3 film. Clear base, seems to have nice tonality. I haven’t run into the same problems others have had with it (backing numbers chemically etched into the emulsion).
What result/look does this give?
The Acros/HC-110 combo has been beautiful tonal gradation. That continues with the Rodin110. Shanghai GP3 has been interesting because it’s been tonally great lately, too.
Have you or are you into any alternative processes, such as cyanotype?
I’ve a 4×5 camera that I really want to do wet plate photography with. I’m tempted by emulsion lifts, or homemade paper negatives. I’ve never done any of this, sadly.
What I have experimented with is stand development. It’s great for low-contrast, compensating developing. However, I had some real problems with edge density, due to lack of agitation. I’ve got a happy medium at the moment with Rodin110 and regular agitation.
What is the best processing tip you can give?
Don’t underestimate the importance of agitation for not ruining your prints.


