

I recently purchased a Minox EC camera and decided it would be fun to shoot and try and develop the film myself. I initially thought that having such a small camera with me would be wonderfully convenient and that I would always have it with me to never miss a shot; however, this did not exactly turn out to be reality. The camera is so small and light (this one is made of plastic) I kept forgetting I had it with me. I brought it with me to Europe last fall and out of a 36 exposure roll, I only took about 20 images and these were because I was reminded I had the camera in my pocket. It really is a handy camera to have with you, as long as you remember to use it!

Brandenburg Gate – Berlin, Germany
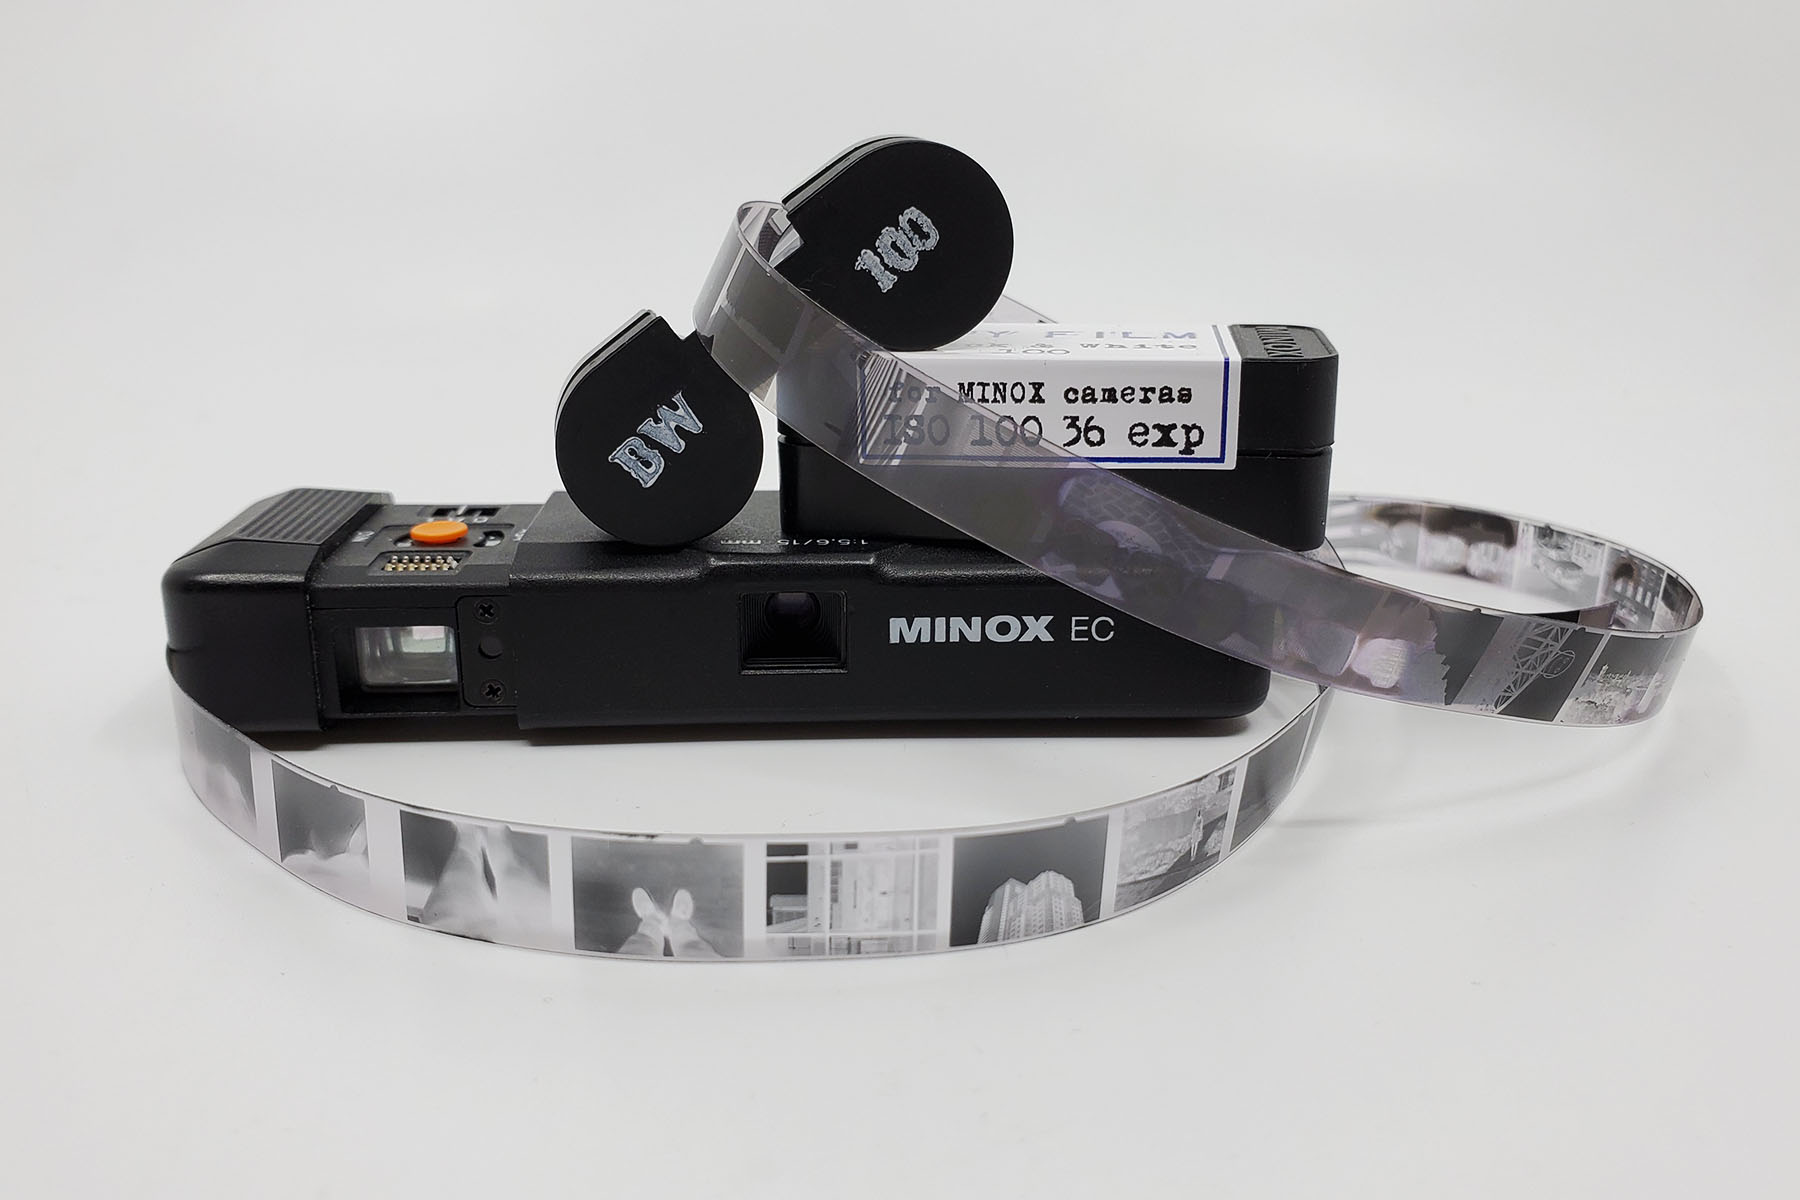
I chose to shoot black and white film so that I would be able to process it myself and, since each frame is only 8x11mm, I chose 100 ISO for the finest grain over 400 and even 1600 ISO that is available. This film was made by Blue Moon Camera and Machine in Portland (they also make colour negative and even slide film for Minox cameras). Here is their original announcement from 2015 which is a fun read, and if you are interested in learning more or getting your hands on some film, you can check out their FAQ page here.

Film Format Comparison – top to bottom: 110, Minox, 135.
The Minox EC is incredibly simple to use and I actually really enjoyed shooting with it. You set the ISO, drop the film cartridge in, frame up your image, and shoot away. The camera has a little red LED that comes on as a slow-speed warning as well which is handy. The lens is fixed focus from about 1m to infinity which simplifies shooting but doesn’t lend itself well to document photography and close ups that many think of when “spy camera” is mentioned. The camera takes a PX27 battery which is not made anymore so I squished four V76PX (SR44) batteries into the compartment which seemed to work. You can see what I mean from the image below. There is a battery check on the camera so you can see if this worked or not.

Four V76PX Batteries in the place of one no longer made PX27.
Blue Moon Camera (same as above) develops this film but I wanted to try my hand at it. My first challenge was figuring out how I was going to develop this as there are no holders or reels around that will keep the film spaced evenly and ensure safe development. Meghan mentioned to me that she had once developed 110 film by sticking it to a roll of blank 135 film and just using a 135 reel. I decided this sounded better than just dunking it in a tank which was my first thought.
In the darkroom, getting the film out of the cartridge and taped to the roll of 135 was relatively straightforward; although I am glad it was dark and no one was around to witness me embarrassing myself during my first couple of attempts. I had to apply tension to the 135 film and the Minox film to make sure it ran down the middle of the 135 roll which was a… creative process. Anyway, once this was accomplished I then had to load the film onto the Paterson auto-loading reel. Normally I use a stainless steel reel as I find they are much easier to use with specialty film but I couldn’t seem to locate mine. After another struggle, I had everything loaded and in the tank.

Trabi – Berlin, Germany
Not knowing what kind of B&W film I had, it was up to me to guess developing time and hope for the best. I used Blazinal at 1+25 dilution for nine minutes, agitating every 60 seconds or so. I chose nine minutes since both Ilford Delta 100 and Rollei RPX 100 are suggested at nine minutes on the Blazinal label. My guess was the film is a re-roll of one of these or at least something similar in nature. My guess paid off and the images turned out; however, there were some issues.
When I loaded the Paterson reel into the tank, the Minox film lost some of the tension on the 135 film roll and slacked into contact with the edge of the reel. This contact caused areas of the film to not fix correctly. I was a bit disappointed by this but happy I got images at all in the end as I was not sure this would even work. I brought the film into Beau and Kathy said that I could actually re-fix the film and it should remove what was left. For this we just dunked the film in a container. After fixing for an additional 5 minutes the film was almost clear except for a very subtle magenta tinge in the previously unfixed areas. We used hypo clear for about 4 minutes which greatly reduced this magenta. You can see the before and after below. I got super lucky in that the image had actually developed underneath the opaque areas so I had complete images instead of missing detail as I expected.

Before/After of film stuck together in developing tank. Needed to be re-fixed to clear the residue off.
There are things I would definitely do differently next time, starting with just tank developing the film by dunking it. I wouldn’t bother with attaching it to another 135 roll as this was tricky and clearly didn’t quite work that well. Because the film is so short (~1.5 feet) it is very easy to handle without losing control compared to a 6ft roll of 135. Leave me a comment below if you have done any development like this or have any suggesting for me and others!

Rocket Bear – Berlin, Germany
After using this film I can see why is was used for espionage. You can easily recognize people even up to 20ft away and, with a closer focusing lens, photographed documents could be easily enlarged and read clearly. I was quite surprised and impressed by the quality of the images this camera produced. I’m not entirely sure what I was expecting but the images look much better than I thought they would. There are definitely some dark images but these were me ignoring the slow-speed warning. Grain is obvious when zooming in but hey, it’s an 8x11mm image. I would love to shoot the 50 ISO slide film they have available and am also quite curious about how the 1600 ISO B&W film looks.

Palace Gate at Dover Castle – Dover, England
If you are curious about how I scanned the images, I borrowed our rental department’s Canon MP-E 65mm f/2.8 Macro (1-5x) lens since I’ve always wanted to try it and this seemed like a good excuse. I paired this with a Canon 5DS. Of course the 50.6mp sensor on this is overkill but what’s life without a little fun. The 1-5x macro made sure that each image completely filled the 5DS frame. Setting this up so that the lens was focused correctly was definitely a challenge without a focusing rail but I managed and it seemed to work out well in the end. There are certainly easier ways to scan this film but I enjoy trying new gear and learning along the way.
I will definitely be shooting with this same film again as I have a cartridge left in my fridge but, because of the process, I will be saving it for another adventure. Thanks for reading and here are a few more images.

Hohenschwangau Castle – Schwangau, Germany

Round Pond – London, England

Hamburg, Germany
This article and many other interesting articles are in the latest edition of our newsletter: https://www.beauphoto.com/newsletter-page/

