[Updated May 30, 2024: Added more detail, and notes on technique with respect to capturing the moving auroral display effectively.]
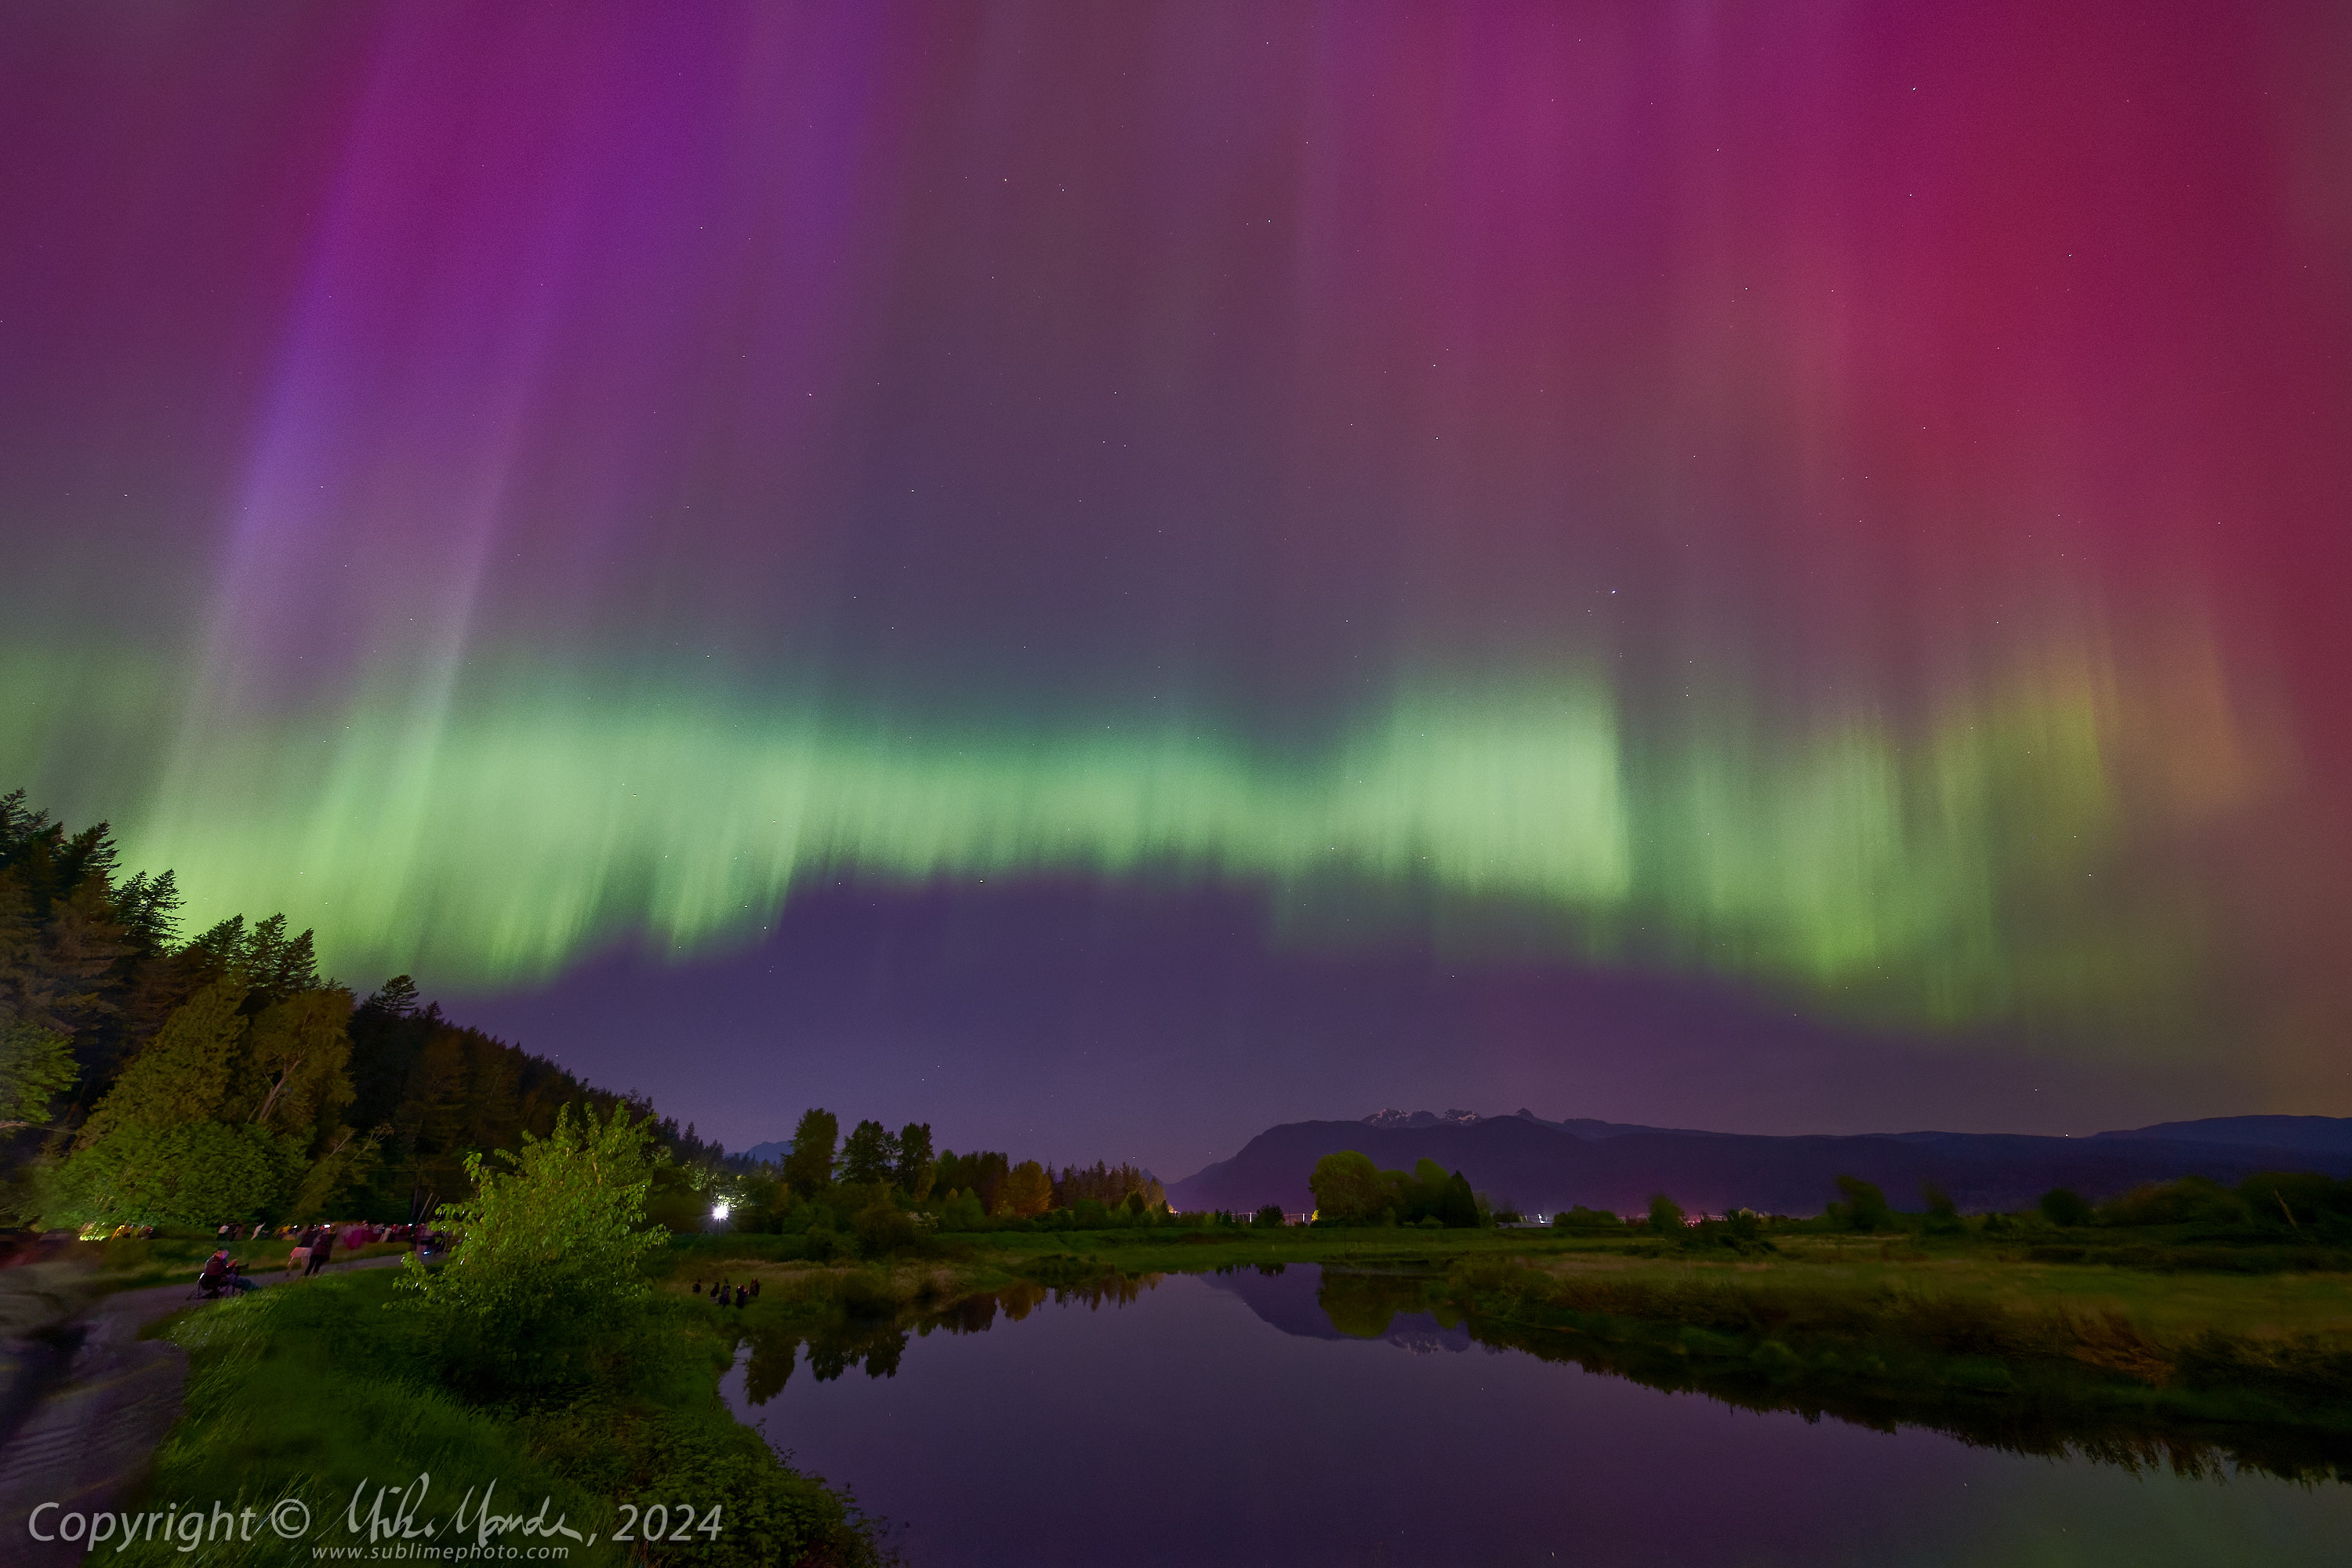
On Friday, May 10, 2024, an intense solar storm prompted a prediction of a potentially dramatic auroral display visible farther south than usual, something that was confirmed with the live aurora map on my Aurora app on my iPhone. These photos were taken just south of Pitt Lake in Pitt Meadows, just off McNeil Road beside the North Alouette River and indeed, the display was absolutely stunning, the best and most colourful I have ever seen to date. The aurora covered most of the sky at times, stretching three quarters of the way south, so half way from the zenith to the southern horizon. The aurora was visible far south into the US and was bright enough to be visible even in light polluted cities. Some of my best shots were actually facing southeast and not facing north! My wife Emily had never seen aurora before in her life, so this was quite the introduction to one of nature’s most incredible sights! Here is a link to the gallery with a selection of photos from that night…
Gallery (33 images): Aurora – May 10,2024
I shot over 55GB worth of images with some long time-lapse sequences as well. Here is a simple video (no audio) showing the sequences stitched together, roughly 90 minutes of real time compressed to just over one minute of time-lapse…
All the photos were shot with my Fujifilm X-Pro2 and the new Fujinon XF 8mm f/3.5 R WR ultra-wide lens. All shots were taken at f/4 and the ISO was either 800 or 1600, and exposure times varied from 2 seconds to 4 seconds mostly, with a few up to 8 seconds. The time lapse shots were all at either ISO 800 and 4 seconds, or ISO 1600 and 2 seconds, one shot after the other, so an interval matching the exposure time.
My X-Pro2 is now well over 7 years old and has seen a lot of use. As a camera ages, it tends to get more hot pixels and noise when used for these sorts of shots, and due to a quirk where its long-exposure noise reduction does not kick in until the exposure time reaches 8 seconds, after processing and lifting the shadows a little to brighten the aurora, there was a fair bit of noise on some images and many hot pixels. Therefore, the images in the gallery were processed through DxO PhotoLab 6 using its Deep Prime noise reduction to reduce the noise and hot pixels. Note that Deep Prime is smart enough to not get rid of the actual stars with its noise reduction. In fact, DxO PhotoLab’s Deep Prime has some of the best “AI” based noise reduction processing out there in my view, doing a tremendous job of reducing image noise without touching genuine image detail. Strictly speaking, for these downsized gallery images, the noise wouldn’t have really been that visible, but I may decide to print a few of these larger, so I wanted to prep them for that too. The resulting DNG images were then further adjusted in Capture One Pro with a Velvia style to saturate the colours and with added clarity to pop the aurora details. Note that the time lapse sequence images were just processed in Adobe Lightroom with no sophisticated noise reduction applied.
Note that visually, the aurora seemed mainly white with a hint of green, and only the most intense reds and purples showed faintly. However the camera picked up much more colour than the naked eye and indeed even my iPhone’s camera showed the reds and purples quite clearly. Note that the skies were not all that dark from that location since it was still too close to the city. Had we been under really dark skies, I expect that perhaps the range of colours would have been a bit more obvious with the naked eye as well.
I hope you enjoy the images and time-lapse, and if you haven’t already, I also hope you get to see a display like this in person someday too!