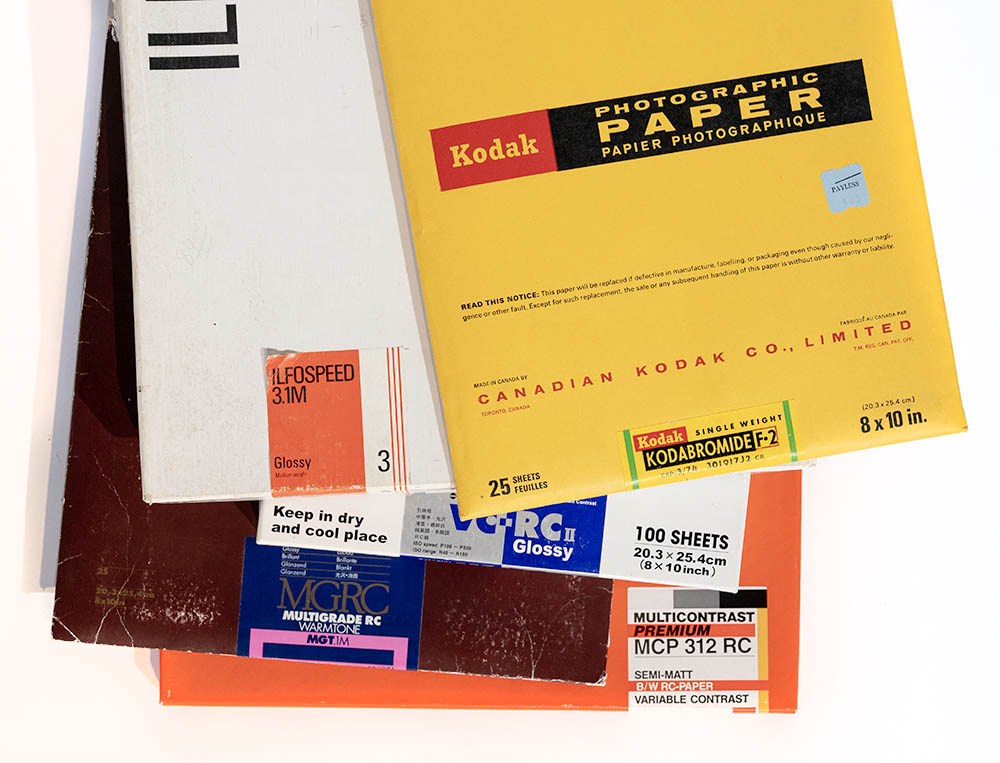
With the cost of silver gelatin photographic paper going up every year it seems, many people are eager to try expired paper in the darkroom. There is still quite a bit of expired paper out there too. When people find out you print in the darkroom, they often give you a box of paper they’ve had sitting around for a while. You can also find paper at swap meets or on online marketplaces. Is it any good though?
The answer is that it depends. Light sensitive silver gelatin paper does expire, and sometimes it will continue to give you nice bright highlights and good prints, but often it will just look grey and flat. This is generally referred to as age fog. It happens for a number of reasons, and can be slowed or prevented by storing paper that you won’t be using for a long time in the fridge or freezer. Put it in a well sealed plastic bag first so the box, and possibly the paper inside, doesn’t get damp or frosty.
The paper on the right went straight into the fix, the paper on the left went through the developer, stop and fix. It shows a slight age fog, and a very thin fogged edge. This paper would probably be fine to print with as is unless you wanted very white highlights. It could also be good for prints you want to tone.
When someone has kindly given you a box of paper, or you’ve hit the jackpot at the camera swap, you may not know how it’s been stored so you will have to do some testing. It’s easy and can be done when you have your trays set up for a printing session. Take a sheet of paper from the box you want to test and cut two strips off. Write on the back which will be developed and which is just fixed. Put one strip into the developer and process normally, as you would for a print. Put the other strip directly into the fixer and fix for the length of time you normally fix for. When both strips have been rinsed, look at them in white light and see if there is a noticeable difference in density. There could be a range of no grey fog in the developed strip, right up to almost black. Unless the box has been exposed to light at some point, this is usually a result of age fog, and will have a fairly even grey tone across the strip. Some papers, even when fresh, may show a very slight tone in them when they are developed, but this is usually only noticeable when you look at the strips side by side. In a larger box of paper, it’s also worth trying a strip from a top sheet and a middle sheet as sometimes it is the off gassing from the packaging that can cause the fog.
If you see fog, it might also be good to test your safelight and make sure it isn’t the cause. Some older papers are more sensitive to orange and amber safelights. To test your safelight, cut a strip off a sheet of paper while in very dim safelight conditions, maybe in a corner or under a counter. Put a coin on the strip and put it on your work surface or over at the sink, wherever the safelight seems brightest. Leave it for 5 minutes or so, which might be about the length of time you would have the paper out while making a print. Process the strip normally, covering the trays so it is not affected by the safelight. After rinsing, look for a lighter circle where the coin was sitting. If you see a circle, the safelight is fogging your paper, if the strip has even density, the safelight should be ok.
So now you have determined the paper is age fogged. Don’t despair! There are many creative options for your old box of paper. Try making a print with the paper and see how much of an image you get. If it won’t produce good image density then you can still use it, just not for printing from negatives. If you see a good image, but the highlights and mid tones look grey like the strip that you tested earlier, there are options for making the highlights whiter. The first is a restrainer. This is a chemical you add to the developer that will slow the action of the developer, and hopefully make the whites whiter. Restrainers are normally either potassium bromide or benzotriazole. You can mix them yourself if you are able to get the chemicals, but you can also get a pre-mixed version. Freestyle has one from Moersch, a company from Germany – https://www.freestylephoto.com/125851-Moersch-Restrainer-Neutral-100-ml. We can special order this for you or you could order directly. Restrainer can work well in certain situations and will brighten the fog, but may not quite produce the nice highlights you are looking for. You can then bleach the print after processing to try and clear the whites completely. Potassium ferricyanide (one of the components of cyanotype) is generally used and again, you can buy this pre-mixed, usually with the addition of potassium bromide. https://www.freestylephoto.com/27580-Moersch-Bleach-Concentrate-100-ml. This will often clear out the highlights enough for you to be pleased with your print made on age fogged paper. There is a lot of information online about using restrainers and bleaching so we will leave it at that here.
If you don’t want to go to the trouble of trying to use your box of expired paper in the darkroom, or it is so age fogged, or even accidentally light fogged that you can’t really print with it even if you wanted to, it is still useful! The emulsion on modern silver gelatin paper is light sensitive and is usually developed to produce the image. This is referred to as developing out paper. In the 1890’s, Ilford produced a printing out paper, which was exposed by contact printing in very strong light, often sunlight, and rinsed and fixed. If you happen to have a box of printing out paper, it is likely age fogged since it wasn’t widely available after the 1930s, but it’s worth trying anyway. If your old box of paper is a developing out paper, which is more likely, it can still be contact printed as the emulsion tone will change in the sun without developing. This is a process called Lumen printing. It doesn’t give the same deep browns or blacks of a traditional print, but the results can still be interesting. While you can use negatives to contact print an image with this method, more often people use plants to create photograms with lovely tones of pink and sepia. The image is not stable though and the paper needs to be fixed to prevent it from fading and changing. Fixing will change the colour so if you really like the look before fixing, it’s a good idea to scan it first. Once scanned, you can manipulate the colours in Photoshop and create something entirely new.
We are having a Lumen printing workshop here at Beau on August 15th from 11am – 1pm. Come and learn more about Lumen printing and do some for yourself. We supply all the materials. Bring some plants or negatives that you might like to try printing. High contrast negatives work best. You can also go on a plant foraging walk around the block when you are at the workshop. We will cover the process and give you some tips before you print your own. If there is time we will also talk about another process that is a fun way to use expired or fogged paper and film. The workshop is limited to 8 people so register early to get a spot. https://www.beauphoto.com/product/lumen-printing-workshop/


